
Not quite. The results swing wildly depending on the tool, the tile, and the technique you use. A cracked tile at this stage means re-ordering material, losing a day, and sometimes redoing tiles you already set. This guide walks through the exact methods, the tools that matter, the variables that make or break a clean cut, and how to fix it when things go sideways.
TL;DR
- Diamond hole saw: best for clean, precise circles in pipe and flange penetrations
- Angle grinder: handles thick tile, irregular shapes, and larger openings
- Rotary tool (Dremel): ideal for small, detailed cuts and tight corners
- Water cooling and bit quality matter more than force — a rushed, dry cut is the fastest way to crack tile
- Marking, clamping, and PPE prevent most failures; for high-volume or high-stakes jobs, pros or custom-cut tile often beat DIY
How to Cut Circular Holes in Ceramic Tile: 3 Proven Methods
Each method suits a different job. Pick based on tile thickness, hole size, and how many cuts you're making.
Diamond Hole Saw Method (Best for Precision Circles)
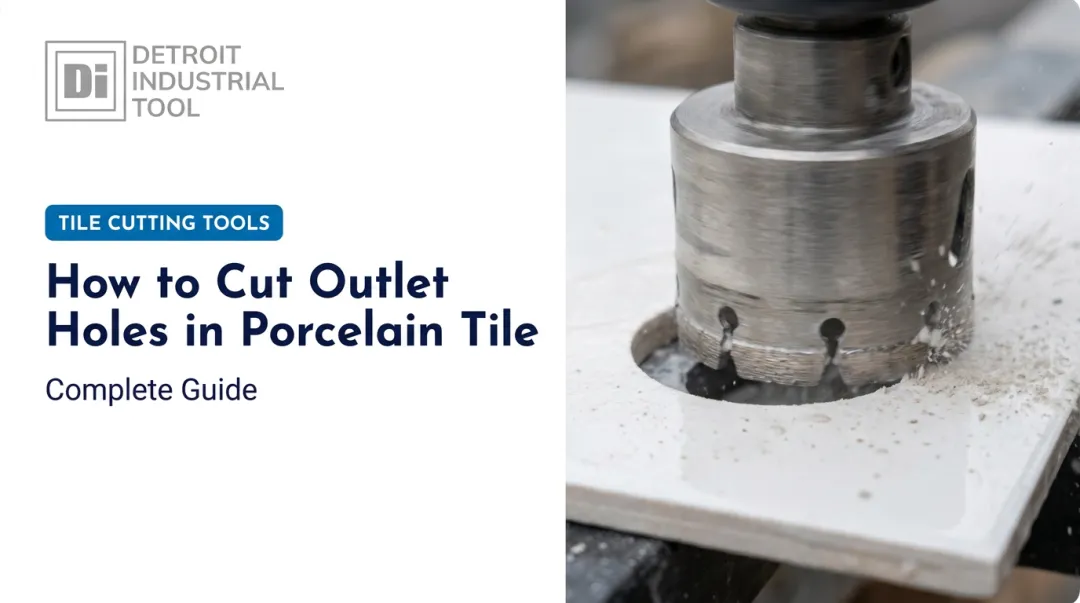
This is the go-to method for round penetrations like pipes, flanges, and shower valves. Start by marking your circle's exact center with a permanent marker, then trace the full diameter using the fixture itself or a compass.
Match the hole saw diameter to your fixture, not to the nominal pipe size. Nominal pipe sizes and actual outside diameters don't match:
| Nominal PVC Size | Actual Outside Diameter |
|---|---|
| 3 inches | 3.500 inches |
| 4 inches | 4.500 inches |
Always measure the physical part before buying a bit.
Cutting technique:
- Start the hole saw at roughly a 45-degree angle to the tile surface to score an entry point without skating
- Slowly rotate the drill upright to 90 degrees once the bit bites into the glaze
- Keep the bit wet or cool throughout, dipping in water every few seconds or pausing a cordless drill to let it cool
- Apply light, steady pressure. Let the diamond grit do the work instead of forcing it

Once you're through, pop the core piece out and run a diamond hand pad around the inside edge to knock down any sharp spots.
Angle Grinder Method (Best for Thick Tile or Irregular Cuts)
Angle grinders shine on thick porcelain, large-format tile, or holes that aren't perfectly round. Mark your circle, then clamp the tile down with rubber-edged clamps or heavy painter's tape to stop it from shifting mid-cut.
Using a diamond blade, score a cross-cut through the center of your marked circle on both the front and back faces of the tile. This is where a lot of installers get into trouble.
Important: Montolit's technical guidance shows that cracks in porcelain often start exactly where two straight scored lines intersect. Rounding that internal corner with a small diamond drill bit before you finish the cuts can reduce cracking risk by up to 90 percent, according to the manufacturer's own testing.
DI Tool's J-Slot Premium Diamond Blade is built for exactly this kind of work. It's rated for angle grinders as well as circular and masonry saws, with J-slots designed to dissipate heat during aggressive cutting on porcelain, ceramic, and granite.
After scoring your cross-cuts, tap out the center pieces with a hammer and chisel, working from the back if possible. Finish the opening with a diamond cup wheel or hand pad to smooth the edge.
Rotary Tool (Dremel) Method (Best for Small or Detailed Holes)
For small holes, notches around outlets, or detail work where a full-size hole saw won't fit, a rotary tool with a diamond-tipped bit gets the job done. Attach the bit and begin cutting along your marked line at a shallow 45-degree angle.
Gradually shift the tool to 90 degrees as the bit establishes a groove, applying light and even pressure the whole way through. Rushing this step is the fastest way to chip the glaze.
Once you've cut through, swap to a diamond grinding bit attachment to smooth the finished edge. Note: rotary tool manufacturers typically rate their diamond cutting bits for ceramic wall tile with limited cutting depth, not dense porcelain floor tile, so match your bit to the job.
What You Need Before Cutting a Hole in Ceramic Tile
Having the right setup before you start prevents most cracked tiles and wasted material. Rushing to grab whatever bit is in the truck is how good tile ends up in the trash bin.
Tools & Equipment
At minimum, you'll need:
- A drill, angle grinder, or rotary tool depending on your method
- A diamond hole saw or diamond blade sized to your fixture
- Clamps or heavy tape to secure the tile
- A permanent marker and measuring tape
- A shaping tool or diamond hand pad for edge smoothing
Heat-resistant build quality matters more than most DIYers realize. DI Tool's diamond blades and hole saws are built to handle sustained heat and friction without breaking down mid-cut. A premium-grade, well-built bit simply holds up far longer than a bargain-bin blade.
Keep a spare bit on hand. Tile wears diamond edges faster than wood or drywall, and running a dull bit is one of the top causes of chipped holes.
Materials & Tile Considerations
Not all tile cuts the same way. Porcelain tile is classified by water absorption of 0.5 percent or less, according to the Tile Council of North America, and that density makes it harder to cut than standard ceramic. Slower, more controlled speeds and heat-resistant bits matter more on porcelain than on standard glazed ceramic.
Safety Gear
Tile cutting throws dust and debris, and dry cutting porcelain generates respirable silica dust. Wear:
- Safety glasses or a face shield for flying chips
- A dust mask or respirator rated for silica dust, especially on dry cuts
- Ear protection for extended grinder or rotary tool use
- Gloves for handling sharp-edged tile pieces
- Knee pads for floor-level cuts
OSHA's construction silica standard sets a permissible exposure limit of 50 micrograms per cubic meter over an 8-hour period, with an action level of 25 micrograms. The agency recommends water delivery systems or dust collection as the primary control, not respirators alone. Wet-cutting whenever possible keeps both you and the tile in better shape.
Key Factors That Affect Your Cutting Results
Even with the right tool, a handful of variables decide whether your hole comes out clean or your tile ends up in two pieces.
Tile Material and Density
Porcelain's low absorption rate makes it denser and more heat-sensitive than standard ceramic. Using the wrong bit speed or bit type on dense porcelain sharply increases the odds of chipping around the cut edge.
Bit or Blade Quality and Coating
Grit size and diamond placement affect how a bit performs. DI Tool's VI Pro diamond bits use medium grit for aggressive trimming and finer grit for edge shaping and hole enlargement. A worn or uncoated bit glazes over faster, generates more heat, and leaves a rougher edge no matter how careful your technique is.
Cutting Speed and Applied Pressure
Too much pressure chips the tile. Too little causes heat buildup and glazes the diamond bit so it stops cutting effectively. The sweet spot is steady, moderate pressure, letting the bit's rotation and grit do the cutting instead of muscling it through.
Heat and Water Management
Friction heat is the most common cause of hairline cracks and premature bit wear in tile. Manufacturers like RUBI and Bosch design their bits around active cooling, whether that's a continuous water feed, internal cooling wax, or airflow for larger bits.
If you're cutting dry, take frequent breaks to let the bit and tile cool. Pausing every 10-15 seconds on a cordless drill extends both your bit's life and your tile's integrity.
Common Mistakes and Troubleshooting Issues
Common Mistakes to Avoid
- Skipping careful marking and measuring, which leads to off-center or oversized holes you can't fix after the fact
- Using the wrong bit for the material, like a standard wood spade bit on porcelain, which will chip the tile before it cuts through
- Rushing the cut without pressure control or cooling breaks, overheating the bit and cracking the tile
Troubleshooting Common Problems
Even careful cutters hit occasional snags. Here's how to fix the three most common problems:
Problem: Tile cracks or chips around the hole Likely cause: excess pressure or not enough heat management. Reduce downward pressure, add water cooling, or switch to a finer-grit bit.
Problem: Hole comes out off-center or uneven Likely cause: the drill wandered or the tile shifted mid-cut. Re-clamp the tile securely and restart at a shallower angle before working up to 90 degrees.
Problem: Bit overheats or dulls quickly Likely cause: continuous dry cutting or a low-quality, uncoated bit. Increase cooling frequency and upgrade to a higher-grade diamond bit, such as a DI Tool diamond bit, built to handle sustained heat.

Alternatives to Cutting Circular Holes Yourself
DIY hole-cutting isn't always the smartest move, especially for high-volume or high-precision work where a mistake means an expensive tile in the trash.
Guided Tile Saw with Circle-Cutting Jig
Large-format score-and-snap systems, like Raimondi's KOMPASS, use a pivoting suction-cup anchor and diamond scoring wheel to form circular and off-center openings, with rated diameters from roughly 22 to 100 centimeters (about 8.5 to 39 inches). This works better on commercial jobs needing many identical holes, though the equipment cost is significant compared to a handheld hole saw.
Professional Tile Cutting Service
For expensive natural stone or large-format porcelain, hiring a certified installer eliminates the risk of ruining tile you can't easily replace. Look for installers with credentials through recognized certification programs for gauged porcelain and panels. You'll pay a service fee, but it beats replacing a $200 slab because of one bad cut.
Ordering Pre-Cut or Custom Tile
If your fixture locations are known ahead of time, some manufacturers offer custom-cut tile with waterjet precision for shapes that would be risky to cut on-site. Lead times typically run three to four weeks from order confirmation, so this only works for planned installations, not last-minute repairs.
No matter which method fits your project, the fundamentals stay the same:
- Match your bit and coating to the tile type
- Control heat throughout the cut
- Ease the transition from a shallow starting angle to a full 90 degrees, rather than rushing it
Frequently Asked Questions
What is the best tool to cut a circle in ceramic tile?
A diamond hole saw offers the cleanest, most precise results for most DIY and professional applications. It's purpose-built for round penetrations like pipes and flanges.
Can you cut a hole in tile without a hole saw?
Yes. An angle grinder or rotary tool can also cut circular holes. The edges usually come out rougher, though, and need extra smoothing with a diamond hand pad.
How do you cut a perfect circle in tile without cracking it?
Mark your circle precisely, start at a shallow angle before working up to 90 degrees, and keep the bit cool with water or frequent breaks. Rushing any of these steps is what causes cracks.
What size hole saw do I need for a toilet flange or pipe?
Measure the fixture's actual outer diameter rather than relying on nominal pipe size. A "3-inch" pipe often measures 3.5 inches across, so buy your hole saw based on the physical part.
Do you need water when cutting tile holes?
Water or intermittent cooling is essential for most diamond bits. It reduces friction, prevents overheating, and protects both the bit and the tile from heat-related cracking.
Can a Dremel cut through porcelain tile?
Yes, with a diamond-tipped bit, though porcelain's density means you'll need a slower pace and more patience than cutting standard ceramic tile.