
Porcelain's density and low water absorption make it far less forgiving than standard ceramic. A technique that works fine on ceramic wall tile can shatter a porcelain floor tile in seconds. Results vary widely depending on the tool you choose, your technique, and even the specific tile you're cutting.
This guide walks through the right tools, step-by-step methods, the variables that actually matter, safety precautions, and the mistakes that ruin the most tiles.
Key Takeaways
- Hole saws, angle grinders, and rotary tools are the three most common cutting methods, differing mainly in precision and speed.
- Diamond-tipped or diamond-coated bits and blades are required for porcelain; standard carbide chips and stalls.
- Water cooling, steady pressure, and accurate marking separate a clean cut from a cracked tile.
- Safety gear and proper clamping aren't optional; skipping them costs beginners tiles and skin.
How to Cut a Circle in Porcelain Tile
Three methods dominate this job: hole saws, angle grinders, and rotary tools. Each has a different learning curve and a different failure mode.
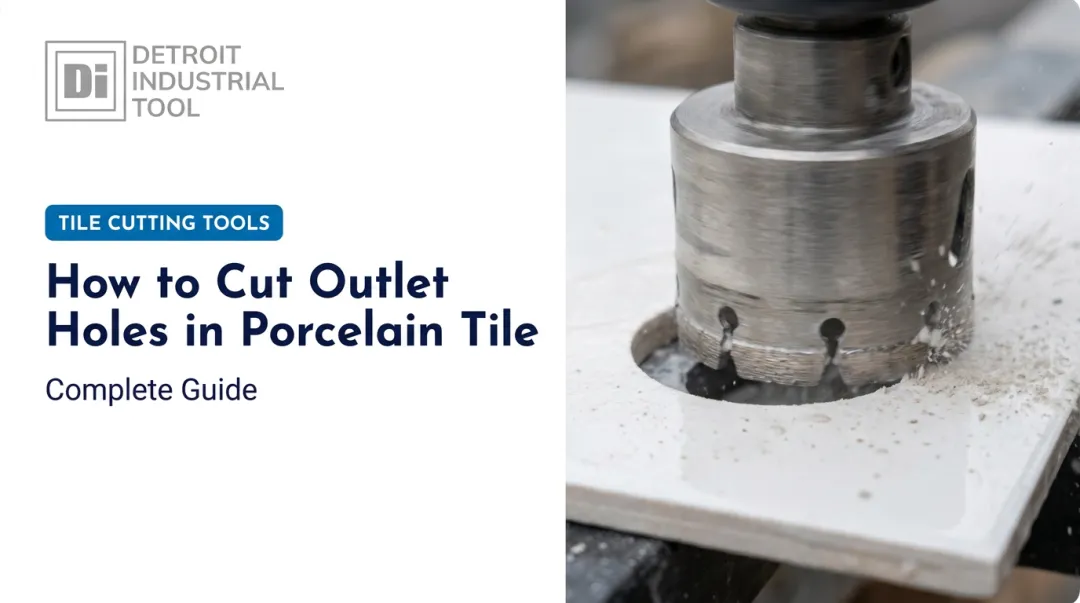
Method 1: Using a Hole Saw
A diamond or carbide-tipped hole saw sized to your pipe or flange diameter gives you the cleanest, roundest hole with the least skill required.
- Measure the actual pipe or flange, not the nominal size. Don't guess.
- Mark the circle location clearly on the tile face.
- Keep the site cool with a helper feeding water or a wet sponge held against the cutting area.
- Start at a 45-degree angle to establish a groove, then gradually rotate the saw toward 90 degrees while applying light, even pressure.
This sequence follows standard practice for wet diamond core bits: bring the drill to full power before contact, begin at a shallow angle, and slowly level out once the groove is established, using light oscillation to help clear debris.
Method 2: Using an Angle Grinder with a Diamond Blade
This method costs less upfront but demands a steadier hand.
- Mark the circle on both the front and back faces of the tile.
- Clamp or tape the tile securely to prevent any shifting mid-cut.
- Make light crisscross passes through the center of the marked area. Never force the blade through in one pass.
- Flip the tile and repeat the scoring from the reverse side.
- Knock out the remaining material, then smooth the rough edge with a shaping tool or diamond bur.
A continuous-rim diamond blade in the 4- to 4½-inch range typically produces the smoothest freehand result.
Method 3: Using a Dremel or Rotary Tool
Rotary tools work best on smaller holes or detail trimming rather than large flange cutouts.
- Attach a diamond-tipped bit and start the cut at 45 degrees before gradually shifting to 90 degrees.
- Avoid pressing hard. Excess force burns out the bit, cracks the tile, and eventually burns out the motor.
- Switch to a diamond-coated grinding bit once the hole is cut through, to smooth the finished edge.
For that final smoothing pass, a quality carbide bur, like DI Tool's Type SF Round Nose Tree or Type SL Round Nose Cone, holds an edge longer than a bargain bit and leaves less chipping around the rim.

What You Need Before Cutting Circles in Porcelain Tile
Getting the right gear together before you start saves you a mid-job supply run and a cracked tile.
Equipment and Tool Requirements
Your basic kit should include:
- A drill or angle grinder rated for continuous use
- Diamond hole saw or diamond-coated blade (DI Tool's Turbo Porcelain Tile Diamond Blade or J-Slot Premium Porcelain & Granite Blade are built specifically for this density of material)
- Marking tool, such as a grease pencil, marker, or scribe
- Shaping or finishing bit for edge cleanup
A quality carbide bur delivers a cleaner, chip-free edge and lasts far longer than a low-grade finishing bit. That difference matters once you've made the rough cut and need the hole invisible under a flange cover.
Tile and Site Preparation
Verify the tile's thickness and hardness rating before you pick a bit size or blade type—thicker, denser porcelain needs a slower feed rate and a fresh blade. Clamp or tape the tile down and work on a flat, stable surface. A tile that rocks even slightly during a cut is a tile that cracks.
Safety Readiness
Porcelain dust and diamond-tooling debris are not something to work around casually. Gear up with:
- Eye and face protection
- Hearing protection
- A dust mask or respirator
- Gloves
- Knee pads
OSHA's respirable crystalline silica standard sets an action level of 25 micrograms per cubic meter over an 8-hour average, with engineering controls and respiratory protection required above that threshold. Work in a well-lit, uncluttered area free of flammable materials, and keep the cord and hose out of your cutting path.
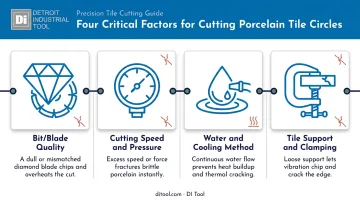
Key Parameters That Affect Results When Cutting Circles in Porcelain Tile
A clean circle in porcelain isn't luck. It comes down to a handful of controllable variables.
Bit and Blade Quality and Coating
Diamond density and bond quality determine both cut speed and chip risk. A worn or low-grade bit loses its exposed diamonds, generates more heat, and drags instead of cutting, raising crack risk and leaving a ragged finish. Blades like DI Tool's Turbo Porcelain Tile Diamond Blade use a laser-welded segment and polished core specifically to hold up under porcelain's density.
Cutting Speed and Pressure
Steady, light pressure keeps heat down and prevents fracture. Running a bit at full speed with heavy force generates enough heat and vibration to damage the tile surface, according to RUBI's tile-drilling guidance. Rushing the cut is the single fastest way to chip an edge or burn out a bit.
Water and Cooling Method
Cooling matters more with porcelain than almost any other tile type. Manufacturer instructions for wet-rated diamond core bits require water cooling at all times, delivered by spray, sponge, or a shallow puddle over the tile. Dry-cutting without a wax-lubricated bit spikes dust levels and shortens bit lifespan fast.
Tile Support and Clamping
An unsupported or loose tile vibrates under the bit, and vibration is what turns a hairline stress crack into a snapped tile. Clamping the workpiece flat improves both precision and operator safety—your hands stay steadier when the tile isn't moving underneath the tool.
Common Mistakes and Troubleshooting
Even experienced installers lose tiles to the same handful of errors.
Common Mistakes
- Skipping the marking step and eyeballing the circle location
- Forcing the grinder or drill instead of using light, even passes
- Using a standard (non-diamond) blade or bit on porcelain
- Ignoring water cooling and letting the bit run dry and hot
These missteps show up as specific symptoms once cutting starts.
Troubleshooting Common Issues
| Issue | Likely Cause | What to Check |
|---|---|---|
| Tile cracks mid-cut | Excessive pressure or unsupported tile | Reduce force, confirm clamping, slow the cut speed |
| Jagged or chipped edges | Wrong bit type or rushed finishing pass | Switch to a diamond-coated smoothing bit, reduce speed near the edge |
| Bit overheats or wears out fast | Dry cutting or no cooling breaks | Add water cooling, let the tool rest periodically |
Alternatives to Cutting Circles with Standard Hand Tools
Not every project calls for a freehand hole saw or grinder cut. Depending on your skill level, budget, and job size, other approaches may fit better.
| Alternative | When It's Better | Key Trade-Off |
|---|---|---|
| Tile nibbling / notch-and-break | Simple half-circle cuts around a flange when no round tool is on hand | Faster and cheaper, but far less precise for full circles |
| Wet tile saw with diamond attachment | High-volume jobs needing repeatable, identical holes | Higher upfront cost, but noticeably better precision and speed |
| Hiring a professional tile installer | Complex layouts, expensive tile, or limited tool experience | Added labor cost, but far less risk of wasted material |
If you go the wet saw route, DI Tool's diamond tile blades deliver clean, chip-free cuts under repeated use.
Frequently Asked Questions
What is the best tool for cutting a circle in porcelain tile?
Diamond hole saws produce the cleanest, most precise circles. Angle grinders and rotary tools work as budget-friendly alternatives for occasional, one-off cuts.
Can you cut a circle in porcelain tile without a wet saw?
Yes. Standard tile saws are built for straight cuts, not circles. A hole saw, angle grinder, or rotary tool with a diamond bit or blade handles circular cuts instead.
How do you cut a hole in porcelain tile for a toilet flange?
Mark the flange diameter on the tile, then cut gently around the line in light passes using an angle grinder or diamond hole saw. Flip and finish from the back for a cleaner break.
Will an angle grinder crack porcelain tile?
Cracking almost always comes from forcing the tool. Light, even passes with a proper diamond blade keep heat and vibration low enough to avoid it.
What size hole saw do I need for a toilet flange?
Flange holes typically fall between 3 and 4 inches, but always measure your actual flange or pipe before buying a bit, since nominal sizing isn't always exact.
How do you smooth the edges after cutting a circle in tile?
A diamond-coated grinding bit or carbide shaping bur smooths chipped or uneven edges left by the initial cut, clearing away small fragments before the fixture cover goes on.